Do you know what the Tie Dye is?
The TIE-DYE print (which in Spanish literally means "to tie and dye"), is a technique that has centuries of history, but with that name it has been known since 1920.
It is a process in which the tissues are knotted or tied and, subsequently, dye. The technique has its origin in the seventh century in Asia, although it is usually associated with the 60s in the United States and the hippie movement of the time. Janis Joplin or Jerry García made the Tie-Dye so popular that, when talking about him, we cannot avoid thinking in the 60s of the twentieth century.
We are true fans of the TIE Dye, since it is a stamping technique that we can do at home and a fun activity to dye your clothes alone, with family or with friends. In any case, you will get brutal results! A few years ago we made a
Tie-Dye stamping workshop Natura Velázquez With incredible results.
Today, we want to share with you some tips to make your prints at home. Let's go for steps!
1. Get with a stamping kit
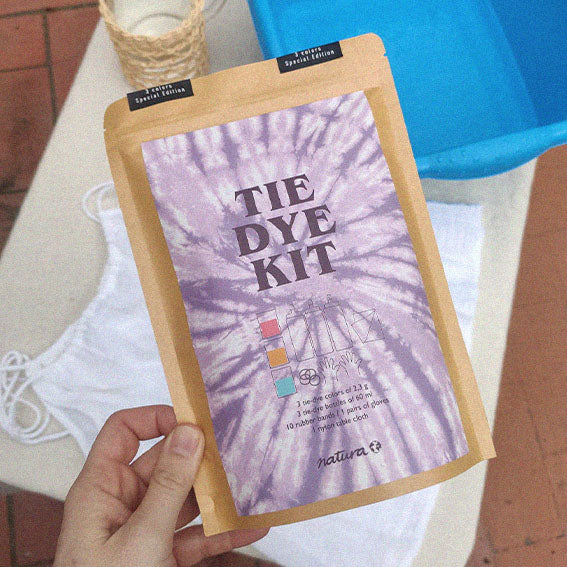
We propose you
Tie-Dye Kit of Natura which contains: a guide with different techniques, 3 colors, 3 60 ml bottles, 10 elastic rubber, 1 pair of gloves and 1 nylon tablecloth.
 2. Prepare the work area
Cover the work area with a plastic and have on all the elements you will need: the garment, the dyes, the elastic rubber, some gloves, a cube or sweep and airtight closing bags.
3. Start preparing the garment
We propose to start with a basic technique: a spiral from a point of the garment to bend it. In any case there are many more modalities many more modalities. Activate your creativity! Once you have the clear way it is important to hold it with rubber.
3. Wash the garment you want to dye. Better if it's wet!
This is a trick that helps the dyes penetrate better in the garment. Test it!
5. Prepare the dyes and start dyeing the garment
Select the dyes that you want to use and mix the powders together with water. Once you have them ready you can start decorating your shirt. Use a single color or several, depending on the result you want to achieve.
6. Leaves that the dye is absorbed for a few hours
Place the garment holds with the rubber inside a hermetic bag and let it dry a few hours. We recommend leaving it inside the bag and the sun for 24 hours approx. Thus we will prevent the color from spreading and we will favor the drawing to be marked.
7. Wash the garment
The first washing must be by hand and with cold water. Once you stop expelling color, you can already put them in the washing machine.
Here is a small tutorial video of how our stamping has been left:
Come on, dare!